Lina Takahashi Eats
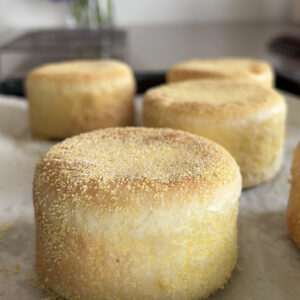
These are not your classic English muffins. They are thick, fluffy and filled with corn that add a little slightly sweet flavor with every bite. They have the thickness of about two regular English muffins, and the fluffy-ness of a literal pillow!
According to Wikipedia, English muffins are “small, round and flat”, but I am ready to argue that small, round and THICK English muffins (with corn) should be the new definition!
I’ve tried making these without the canned corn pieces in them, and of course they are still fluffy and taste wonderful, but the addition of the fresh corn adds sweet and crunchy bites and I highly recommend it! You can use a stand mixer to knead your dough, but you can also hand knead this bread which is my favorite way to bake them.
CORN MEAL: There are different kinds of cornmeal, but I recommend the finer the better! Since you put 1.5 tablespoons in the dough, you don’t want to hurt your teeth using the large cornmeal that is harder to bite down on! I like using this one from Bob’s Red Mill but whatever you can find is okay! I also use this cornmeal to coat the outside of the dough before I place it into the mold which helps the muffins slide out easily after you bake it!
DRY YEAST: I use to measure out yeast using a teaspoon, but I have found that measuring out 3 grams of yeast helps get the best rise when making these English muffins! It’s the most accurate way to measure since the amount of yeast can change by a few grams when using a measuring spoon.
SUGAR: I used granulated sugar when baking these muffins which worked just fine and is probably the sugar that most people have access to.
MILK: I used whole milk because I personally like the taste of it in my bread, but feel free to just use water or a milk alternative. I think it adds to the buttery flavor of these corn English muffins, but it is not crucial or worth it if you have a dairy allergy! Whatever you end up using, be sure to make sure it is lukewarm to help activate the yeast.
WATER: Be sure to warm up your water to 42C to 43C(107F-109F), which is about a warm bath water temperature, to help activate your yeast instantly and speed up the gluten-building process when kneading your dough. Since I am also using milk in this recipe, I like to bowl water in an electric kennel and add hot water to room temperature milk to heat up the liquid mixture. Just be sure your water is not too hot (if it is uncomfortably hot to tough then it is probably way too hot! If you need an accurate temperature, use a thermometer and aim for 42C-43C or 107F-109F.
SALT: Feel free to use any kind of table salt! It’s a small, but mighty ingredient!
BUTTER: Bring your butter to room temperature before baking this bread. If you forgot, you can also wrap your 16 grams of butter in plastic wrap and massage it using your hand to warm it up. This will make it easier to knead into your dough.
CANNED CORN: If you corn is sitting in a lot of liquid in the can, be sure to drain your can first before you start making your dough. If you add very wet corn into your dough, it can make the dough very sticky and hard to work with. You can even pat down the canned corn on a paper towel before adding it to your dough if it still feels very wet and soggy.
When adding the corn, I recommend first spreading your dough out into a square, then laying out the corn on top. Then roll your dough up like you’re rolling a sushi roll and turn so that your dough is vertical to you. Roll it up one more time and gently repeat until you see the corn almost coming to the surface. Don’t knead too much once you add the corn or else your dough will be very sticky and hard to work with! You are proofing your dough after adding the corn so you don’t need to worry too much about how mixed into the dough it is.
BREAD FLOUR: Whenever I bake bread, I divide my bread flour into two bowls because I’ve found that this is the most fool-proof way to hand knead bread. If you are using a stand mixer, read more about the comparison below.
If you are using a stand mixer…
I would recommend adding the ingredients in this order for the most seamless dough formation:
Bread flour, cornmeal, sugar, yeast, milk/water mixture…let this first mix together…then add your salt and butter.
Yeast loves sugar and doesn’t love salt or butter, so by mixing together the yeast and sugar first, it allows for the gluten to start forming earlier which equals a fluffy bread!
If you are hand kneading…
I recommend measuring out all of your ingredients into 2 bowls:
BOWL 1: Bread flour, cornmeal, sugar, yeast
BOWL 2: Bread flour, salt, butter
Then add your warm milk/water mixture into BOWL 1, mix that together using a wooden spatula (or any other non-bendy tool) vigorously until you don’t see any more lumps. Then add BOWL 2 and mix again until a dough forms.
On a clean counter top, flip your dough out and make sure you get all the dough remnants on your wooden spatula and bowl using my favorite baking tool, a scraper. This is quite literally the most satisfying part (besides eating the actual bread you baked from scratch), but those remnants are still part of the ingredients list and are crucial to making your bread perfect!
I like using two different types of kneading methods: stretch knead and the v-knead.
The first stretch knead is done by holding the dough in place with your non-dominant hand, and then pushing your dough vertically in front of you with your other hand. Do this quickly a few times will rotating your dough every time you bring the dough back to meet your non-dominant hand. This type of kneading is crucial to building the gluten in the bread by stretching and shrinking the dough.
The second v-knead is done by putting your hands in the shape of a V and using the base of your palms to press the dough diagonally in front of you to the right, bring it back in front of you, then diagonally in front of you to the left — like a V. Do this quickly as well to help warm the dough up and smooth out the outer surface of the dough. Imagine you are trying to rub a stain out of the counter using the bread dough, that’s how fast you should be kneading the dough to help form the gluten!
You know when your dough is ready when you stretch out the dough gently from the middle and can form a “window” without the dough breaking apart easily and creating an actual hole in the dough. The surface will be visibly more smooth as you continue to knead the dough, so be sure to keep an eye out for the changes in your dough.
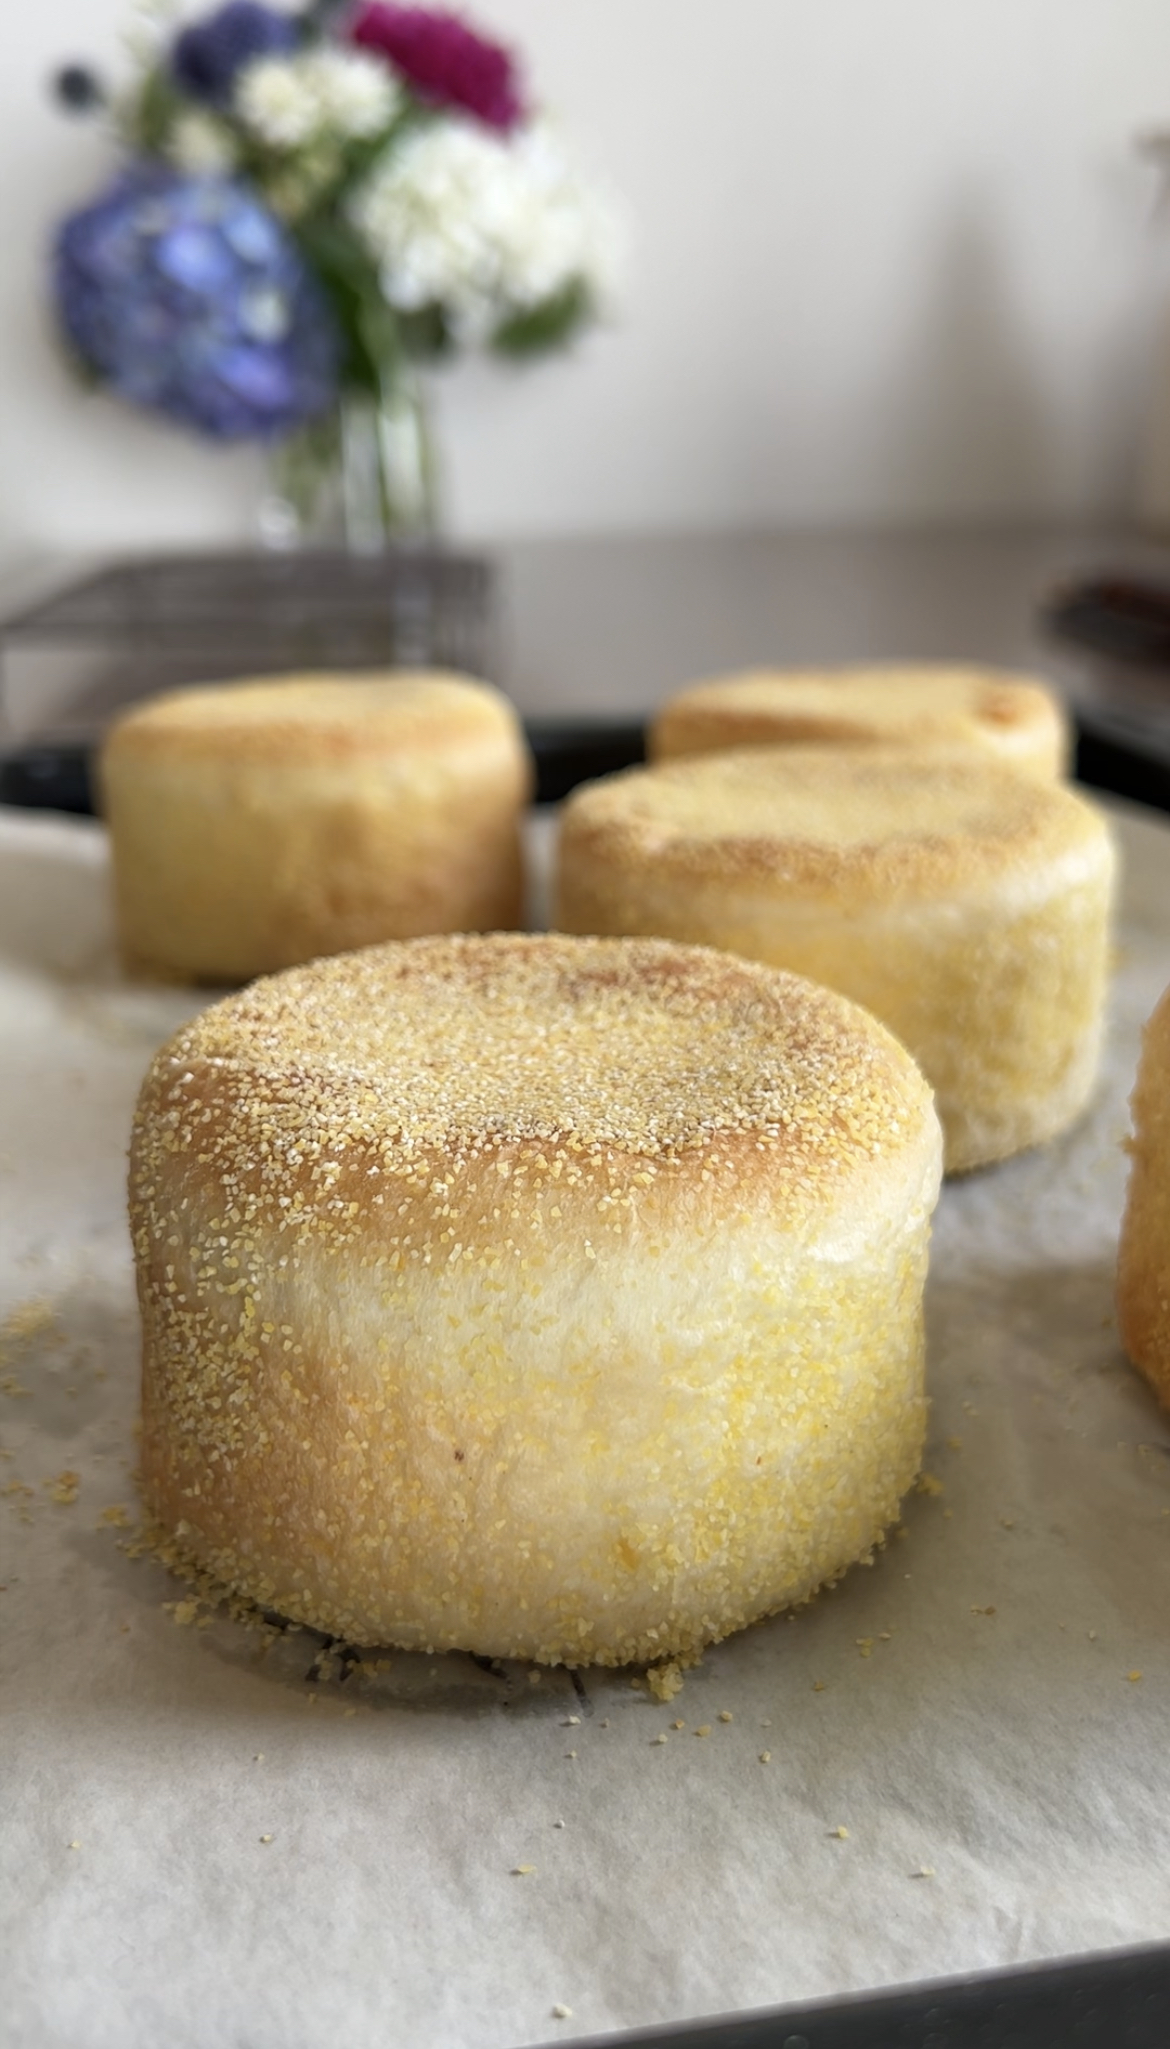
Use a heavy casserole dish or baking tray to put on top:
This step is crucial to make sure you get the cylindrical shape of the English muffins. If you don’t put anything on top of the molds when baking, you will end up with a little mushroom shaped bread — which is cute if you’d prefer that! Another benefit of placing something on top of the English muffin molds before baking is that it forces the bread to rise in the limited space, allowed for a fluffier and more moist muffin.
Turn your baking tray with 4 minutes left:
If you don’t turn your baking tray around with a few minutes left, it truly isn’t that big of a deal but I have found that it helps create the most even bake on the top and bottom of these English muffins — but don’t worry, it won’t affect the taste!
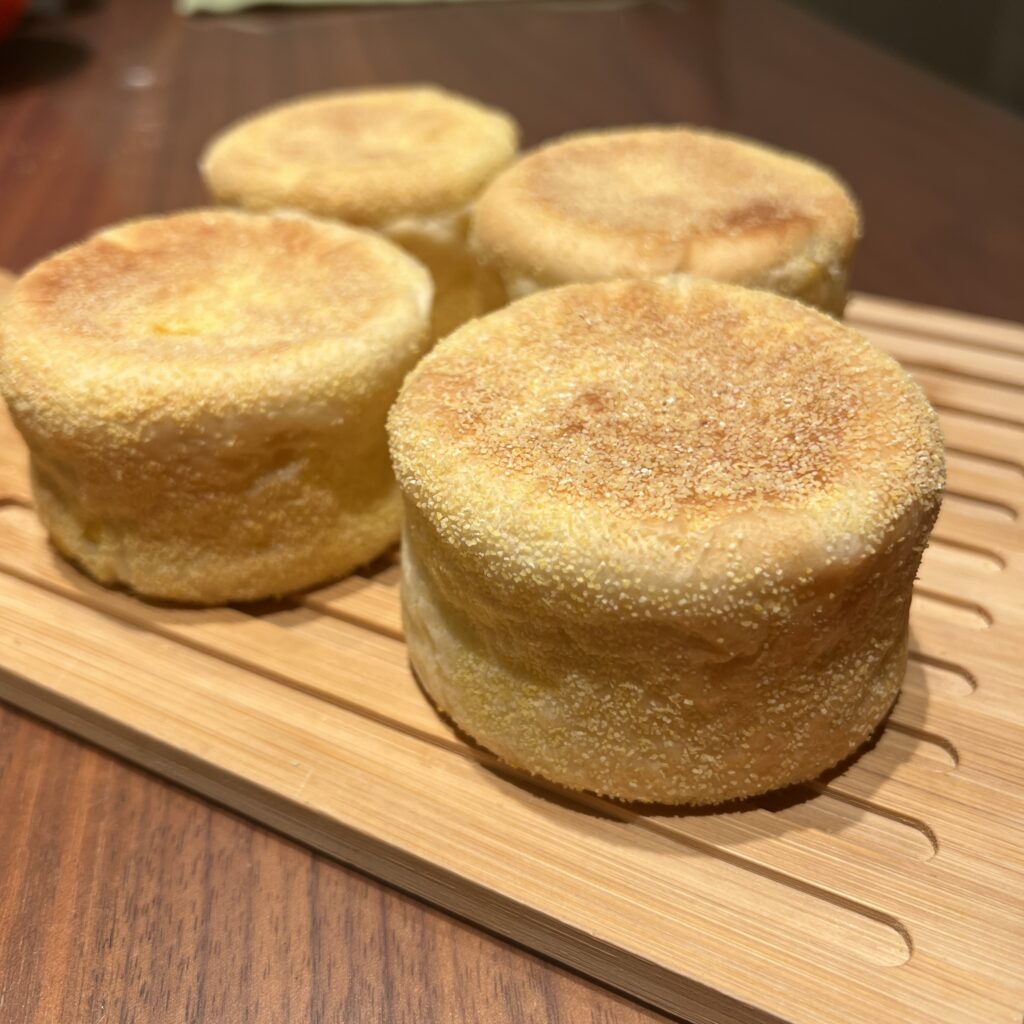
As always, let me know if you have any questions and tag me if you make them! I hope you love them as much as I do 🙂
Itadakimas! いただきます!