Lina Takahashi Eats
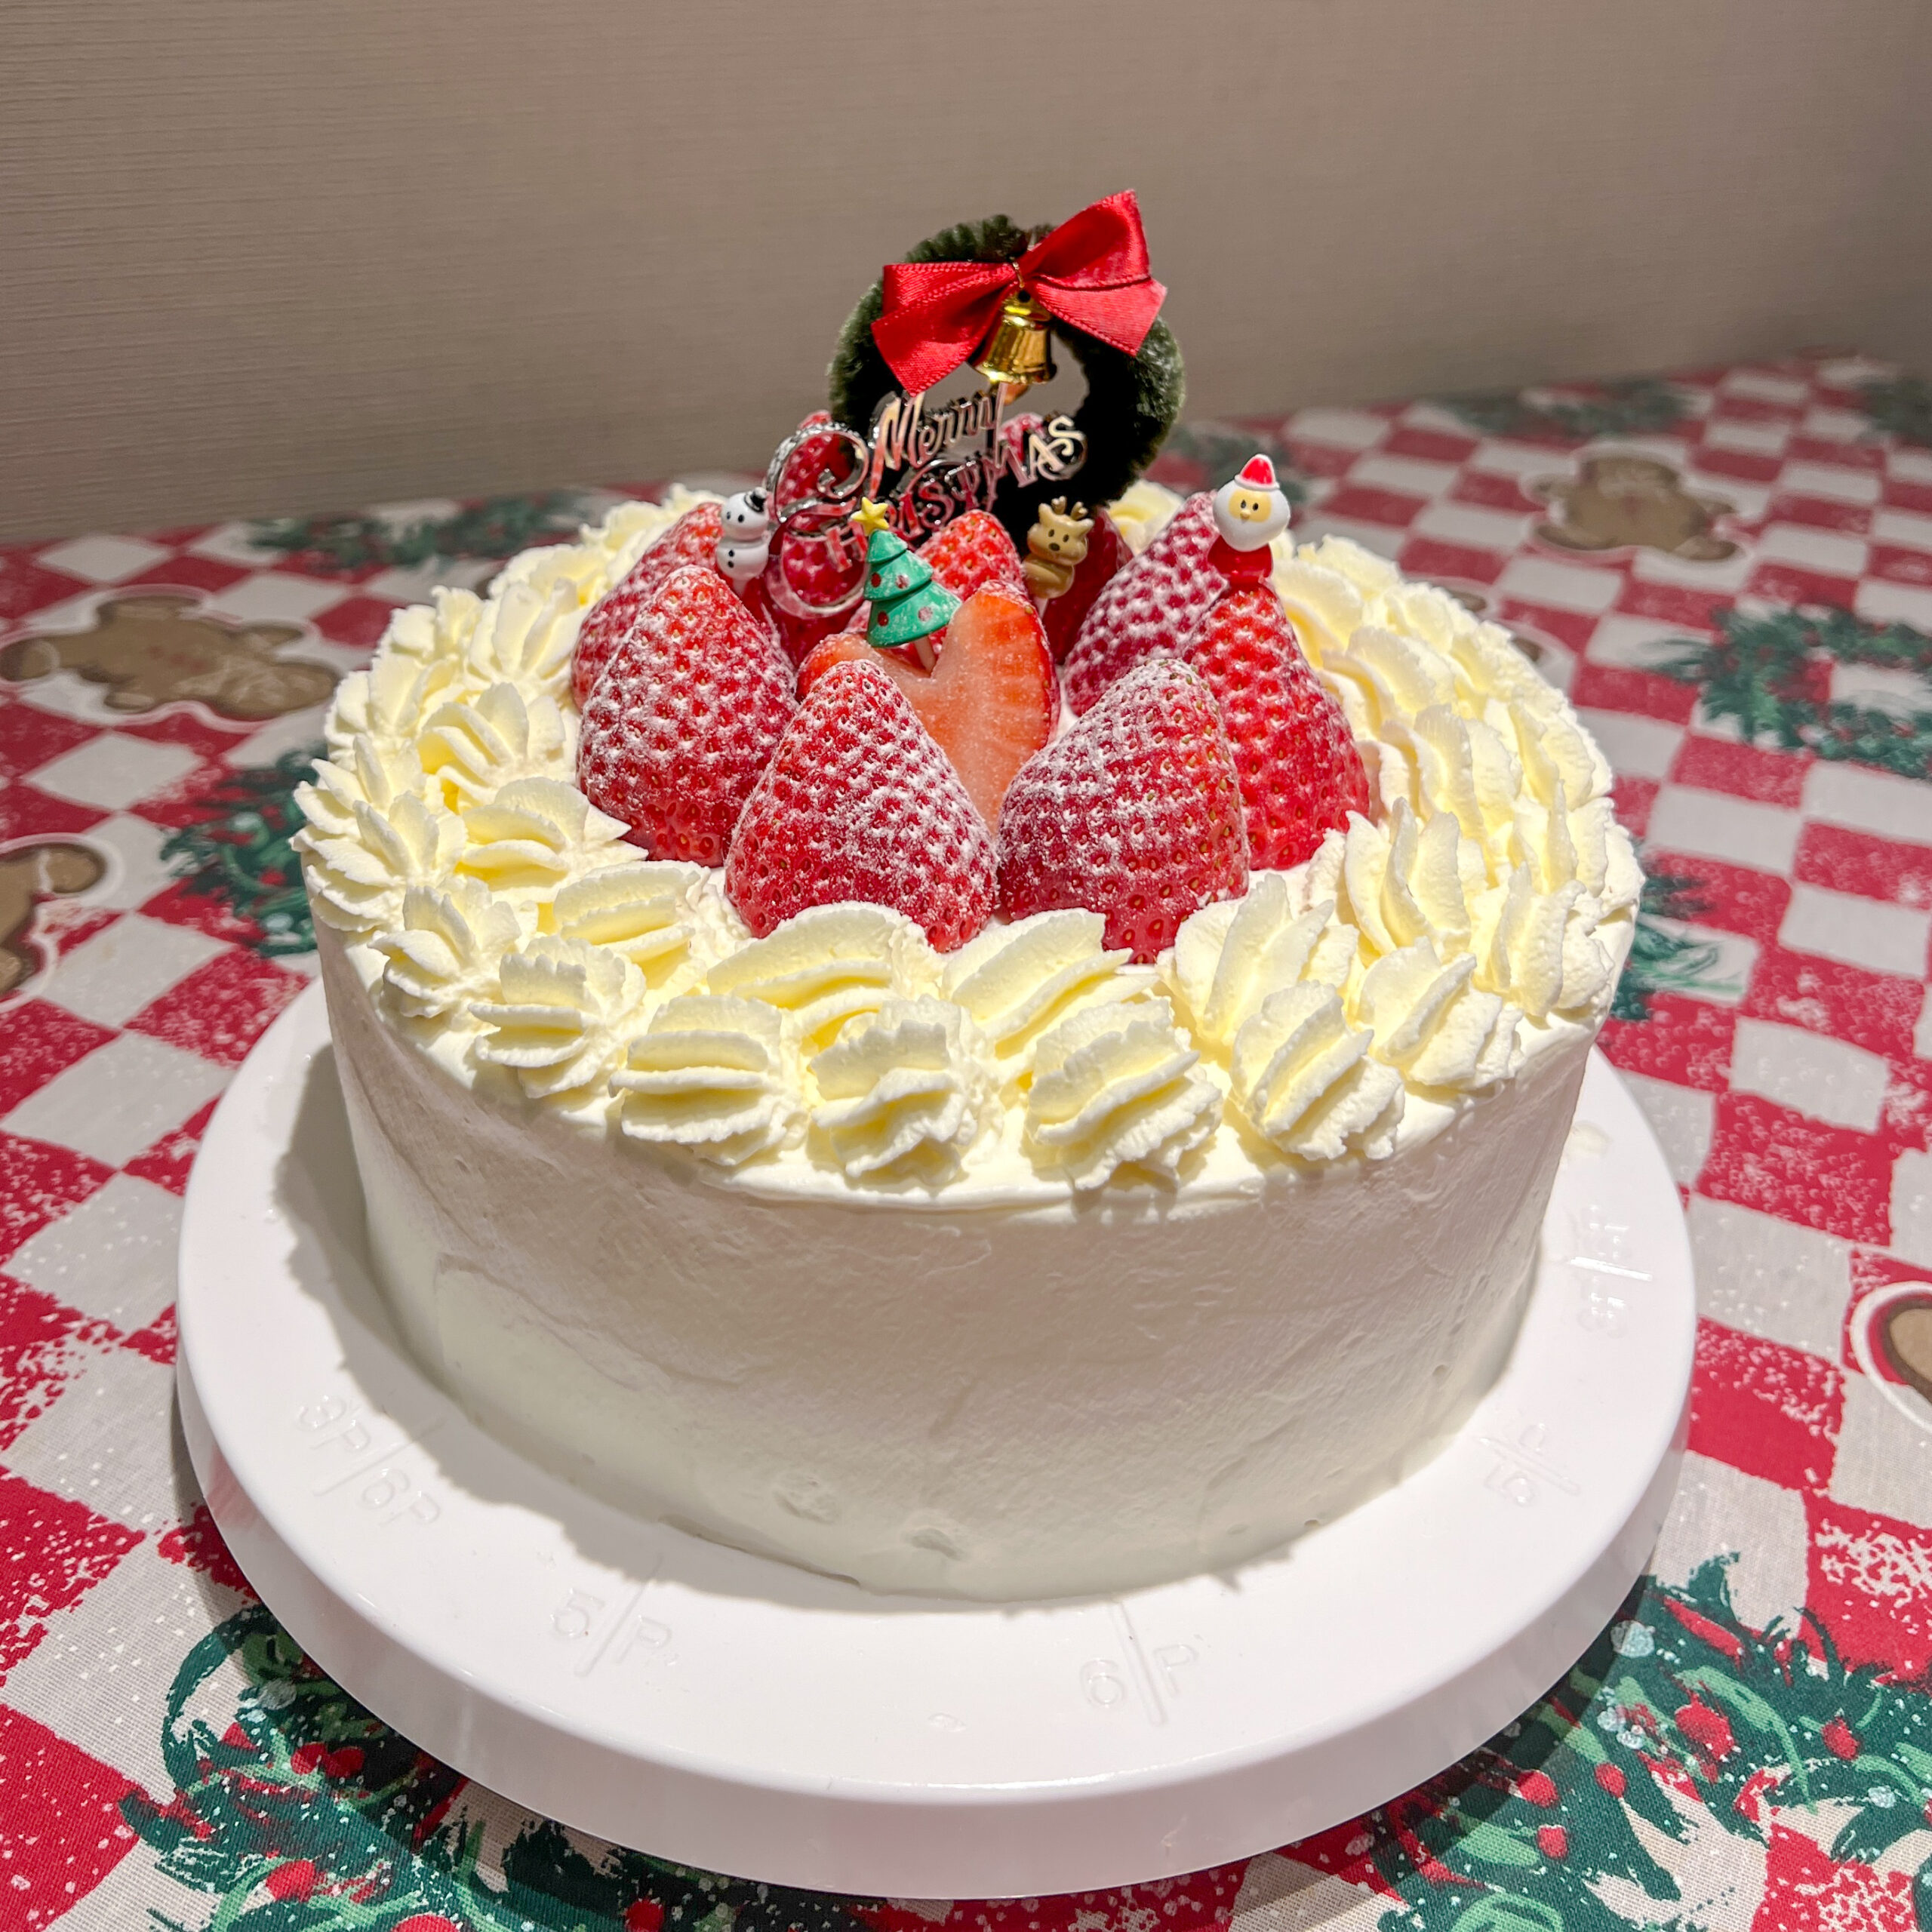
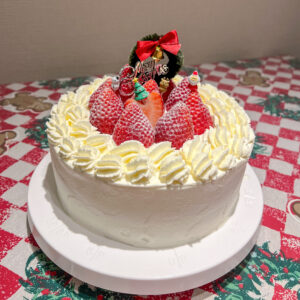
My favorite birthday cake and the cake I make for everyone I love! It has become my family’s Christmas tradition to eat a Japanese-style strawberry shortcake and I hope it’s something I continue to do forever!
As someone who did not like buttercream frosting cakes, there weren’t many other options growing up in the U.S. so my Japanese mom always made me a Japanese-style strawberry shortcake. I looked forward to it every year and all of my friends did too 😉
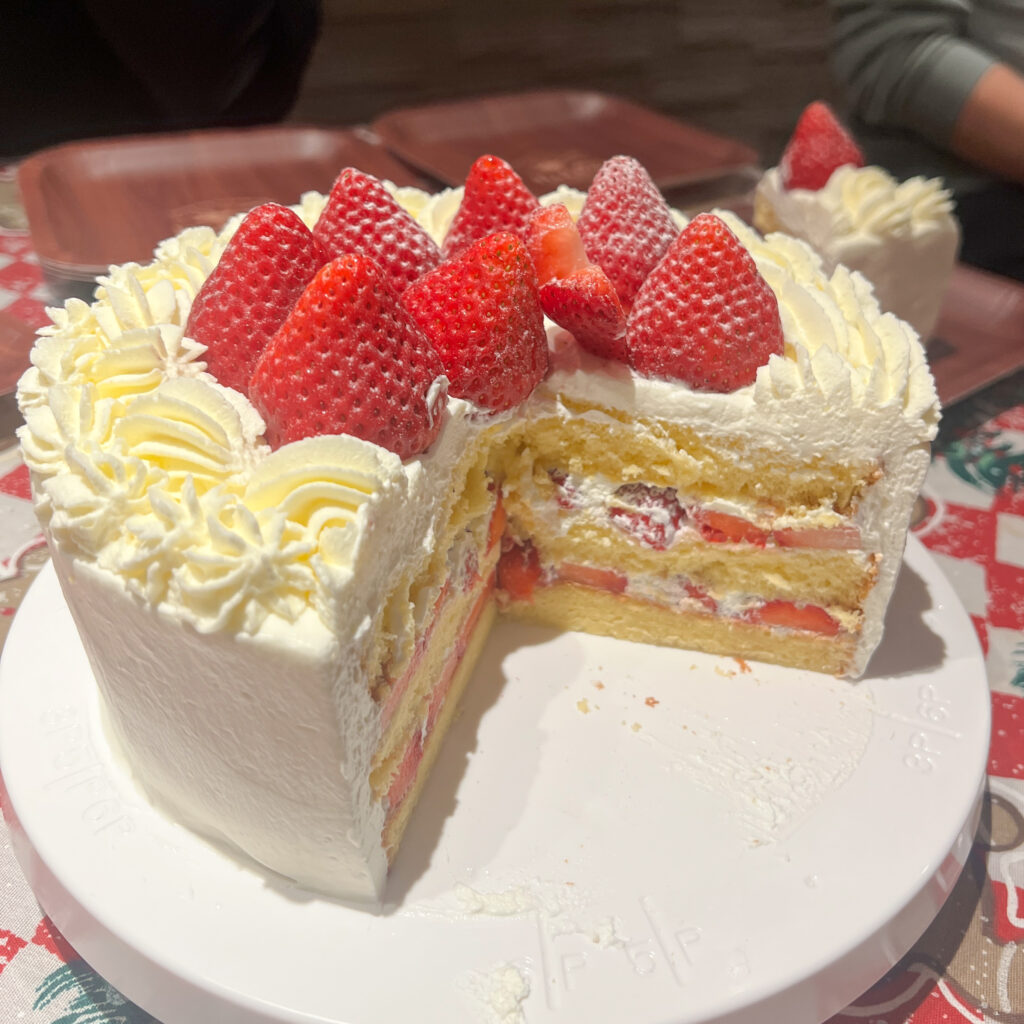
What made this cake so special was the fluffiest sponge cake topped with thick layers of strawberry and the best whipped cream! It was a simple whipped cream but it was the PERFECT sweetness — not too sweet, just how I like it!
The sponge cake by itself is already quite fluffy and moist, but my mom would always brush each layer with a simple syrup and this makes a HUGE difference! It not only helps to add moisture but I also think it prevents the cake from getting soggy from the cream and strawberries because you already give it initial moisture from the simple syrup to absorb (this is PURELY my own opinion and is not science backed so it could be placebo lol but I can guarantee it makes it taste 100 times better!)
Now that I am an adult and in charge of making the strawberry shortcake for my family, I add in a tablespoon of Kirshwasser cherry liquor into the simple syrup and this is a GAME-CHANGER! It pairs perfectly to the cream and strawberry flavors and I do think it adds a special touch. Obviously if you can’t add alcohol to the cake for any reason, you can substitute it for vanilla extract.
A question I get often on my cake recipes especially from my U.S. audience is, “can I just use all-purpose flour?” and to that I say it really depends on the type of cake texture you want.
If you want the fluffy Japanese style strawberry shortcake texture, I highly recommend using a cake flour. I promise it is an easy type of flour to get and I really do think you will like the texture of this sponge cake over a cake made with all-purpose flour.
The reason for this difference is the protein content of the flours.
Cake flour has less protein than all-purpose flour, which means it makes less gluten when mixed. That’s what gives cakes their soft, tender crumb instead of a chewy, bread-like texture. It’s also finely milled, so it blends smoothly into the batter and helps the cake bake up light and fluffy.
If you use all-purpose flour instead: the cake will still work, but the texture will be a bit different. All-purpose flour has more protein, which means more gluten, so the crumb may be slightly denser and less tender. You might notice the cake feels a little sturdier or more bread-like rather than super soft and fluffy.
Use a scale if you can. Sponge cakes are very sensitive to ratios, so weighing your ingredients (especially eggs and flour) makes a big difference and gives more consistent results.
Whip the eggs really well. This cake gets most of its lift from the eggs, not baking powder. Take your time whipping until the batter is pale, thick, and fluffy. If it looks airy and glossy, you’re on the right track.
Keep the butter and milk warm, not hot. If the mixture is too hot, it can deflate the batter. If it’s too cool, the butter can seize up. Warm and fluid is perfect.
Stop folding as soon as the flour disappears. Overmixing is one of the easiest ways to ruin a sponge. Once you don’t see any dry flour left, you’re done.
Cool your sponge cake completely before slicing. A warm cake will crumble and compress. Cooling fully (or even chilling it briefly) makes clean layers much easier.
Let your sliced strawberries rest on a paper towel for a few minutes. This helps absorb excess juice so your cream doesn’t turn pink or watery when you assemble the cake.
Don’t skip the resting time. Strawberry shortcake honestly tastes better after a few hours in the fridge. The sponge absorbs the syrup, the cream sets, and everything comes together.
Underwhipping the eggs
If the eggs aren’t whipped enough, the cake won’t rise properly and may turn out dense. Make sure the batter forms ribbons that stay on the surface for a few seconds.
Overmixing the batter
It’s tempting to keep stirring “just to be safe,” but this knocks the air out of the batter. Fold gently and stop early — a few gentle strokes are better than too many.
Adding the butter mixture directly without tempering
Pouring hot butter and milk straight into the batter can cause deflation. Always mix a bit of batter into the butter mixture first, then add it back in.
Opening the oven door too early
Opening the oven before the cake sets can cause it to sink. Try not to open the door during the first 20 minutes of baking.
Over-soaking the cake with syrup
The sponge is already soft and moist. A light brush of syrup is enough — too much can make the layers soggy.
Overwhipping the cream
Cream that’s whipped too much can turn grainy or buttery. Stop whipping as soon as it holds soft peaks. If it starts looking stiff, gently fold in a splash of liquid cream to smooth it out.
Rushing the assembly
Take your time when layering. Thin layers of cream and evenly spaced strawberries make the cake easier to stack and prettier when sliced.
At the end of the day, this cake isn’t about being perfect — it’s about making something soft, light, and full of love for the people you care about. This strawberry shortcake has been part of my life for as long as I can remember, and now getting to make it for my own family feels really special <3
If you’re new to sponge cakes, don’t stress if it’s not flawless the first time. Even a slightly uneven layer or messy frosting still tastes amazing!
If any part of the recipe feels confusing, I have a full video where you can watch how I make it step by step on my Instagram and YouTube. And as always, feel free to reach out if you have questions — you can find me on Instagram, YouTube, and TikTok at @takahasheats.
I hope this becomes a cake you come back to for birthdays, holidays, or just because — and maybe even a tradition of your own 🙂